Backup And Restore In Windows 11 To USB (2025)
Backup and Restore in Windows 11 to USB (2025)
Related Articles: Backup and Restore in Windows 11 to USB (2025)
Introduction
With great pleasure, we will explore the intriguing topic related to Backup and Restore in Windows 11 to USB (2025). Let’s weave interesting information and offer fresh perspectives to the readers.
Table of Content
Backup and Restore in Windows 11 to USB (2025)
In the digital age, data has become an invaluable asset. Losing important files due to hardware failures, software glitches, or cyberattacks can be devastating. Regular backups provide a safety net, ensuring that your data remains secure and accessible in the event of an unforeseen disaster. This article provides a comprehensive guide to backing up and restoring data in Windows 11 to a USB drive in 2025.
Importance of Backups
Regular backups are essential for several reasons:
- Disaster Recovery: Hardware failures, natural disasters, or accidental data deletion can result in permanent data loss. Backups allow you to restore your system and data to a previous state, minimizing downtime and data loss.
- Data Protection: Ransomware and other malicious software can encrypt or delete files, rendering them inaccessible. Backups provide an offline copy of your data, protecting it from such threats.
- System Restore: Windows updates or software installations can occasionally cause system instability. Backups allow you to revert to a stable system configuration, minimizing troubleshooting time and potential data loss.
- Data Archival: Backups can serve as a long-term storage solution for infrequently accessed data, freeing up space on your primary storage devices.
Backup to USB Drive
Step 1: Prepare the USB Drive
- Use a USB drive with sufficient storage capacity to accommodate your backup data.
- Format the drive using the NTFS file system for optimal compatibility and performance.
Step 2: Create a System Image
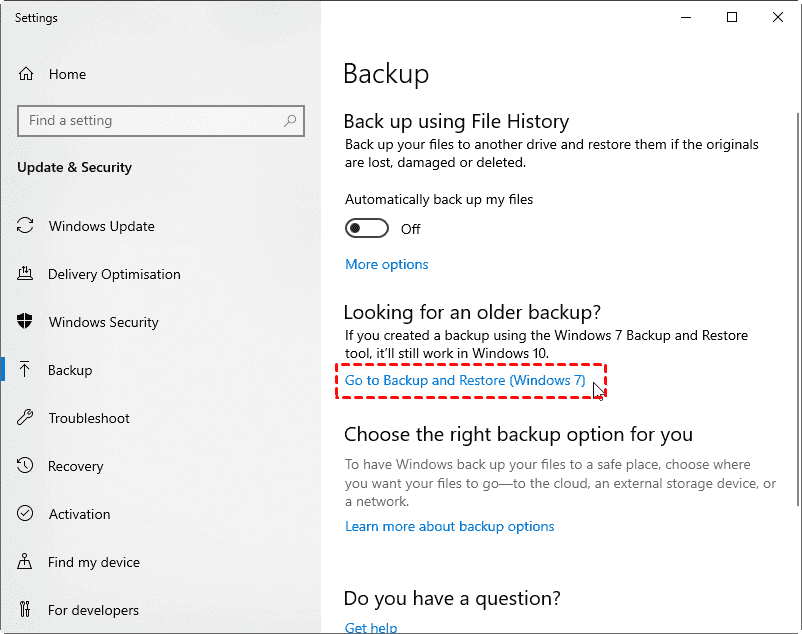
- Open the "Control Panel" and navigate to "System and Security."
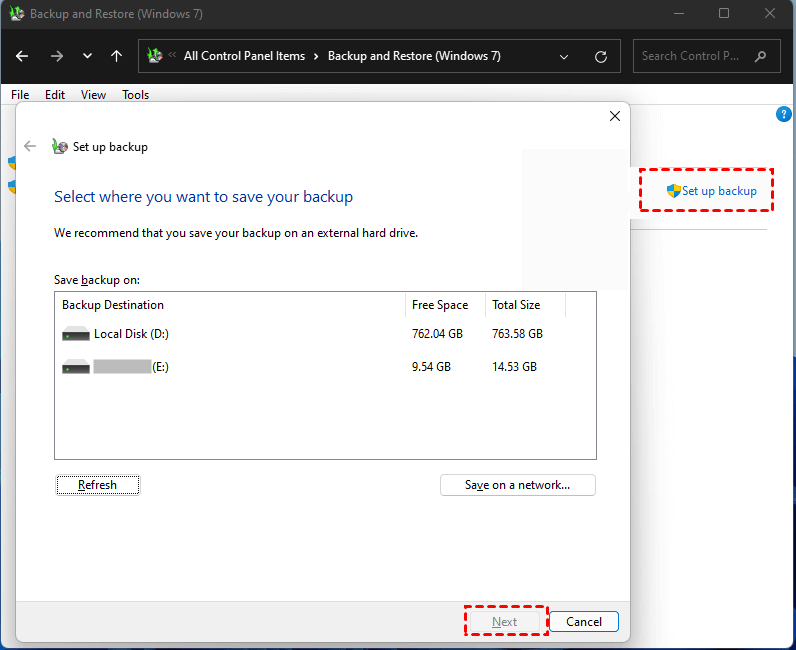
- Under "Backup and Restore (Windows 7)," click "Create a system image."
- Select the USB drive as the destination location and follow the prompts to create a system image backup.
Step 3: Create a File History Backup
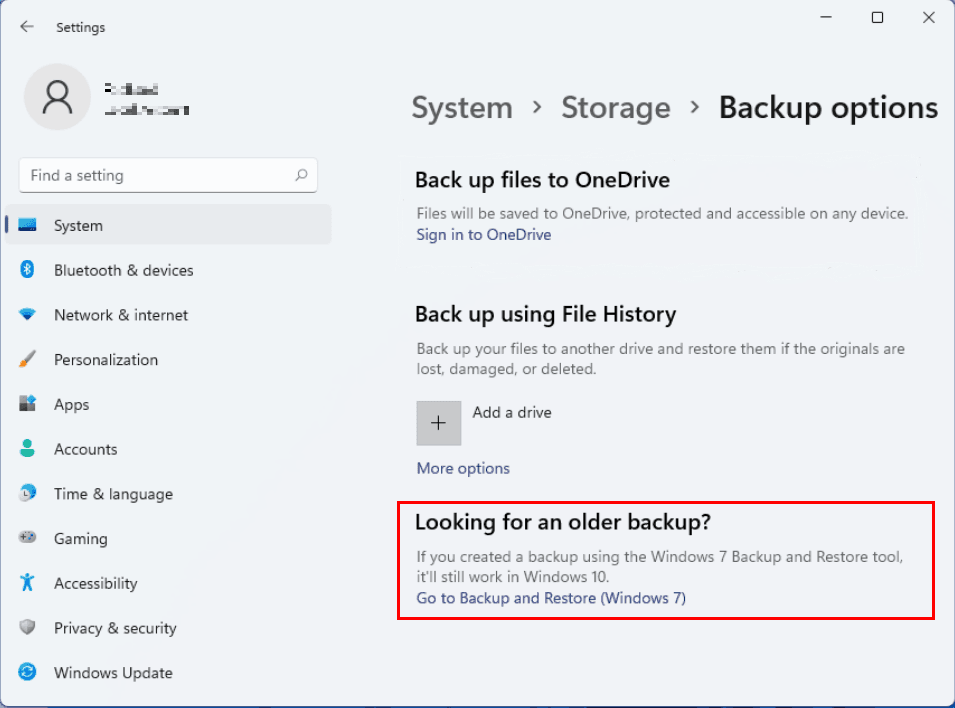
- Open "Settings" and navigate to "System" > "Storage."
- Click "Configure backup options" and select the USB drive as the backup destination.
- Turn on "Automatically back up my files" and customize the backup frequency and retention settings.
Restore from USB Drive
Step 1: Boot from USB Drive
- Insert the USB drive into your computer.
- Restart your computer and enter the BIOS settings by pressing the appropriate key (usually F2 or Del).
- Change the boot order to prioritize the USB drive.
Step 2: Restore System Image
- Once the computer boots from the USB drive, select "Repair your computer."
- Click "Troubleshoot" > "Advanced options" > "System Image Recovery."
- Follow the prompts to select the system image backup and restore your system.
Step 3: Restore File History
- After restoring the system image, boot into Windows normally.
- Open "Settings" > "System" > "Storage."
- Click "Configure backup options" and select the USB drive as the backup destination.
- Click "Restore personal files" and follow the prompts to select and restore specific files or folders.
FAQs
Q: Can I restore a backup from an older version of Windows to Windows 11?
A: Yes, you can restore a system image backup created in Windows 10 or earlier to Windows 11. However, you may need to install additional drivers or software to ensure compatibility.
Q: How often should I create backups?
A: The frequency of backups depends on the importance and sensitivity of your data. For critical data, it is recommended to create daily or weekly backups. For less sensitive data, monthly or quarterly backups may suffice.
Q: Can I use an external hard drive instead of a USB drive for backups?
A: Yes, you can use an external hard drive as the backup destination. External hard drives offer larger storage capacities and may be more suitable for backing up large amounts of data.
Tips
- Use a dedicated backup drive to avoid conflicts with other data stored on the same drive.
- Encrypt your backups to protect them from unauthorized access.
- Test your backups regularly to ensure they are working properly.
- Keep your backup drive in a safe and secure location separate from your computer.
- Consider using a cloud backup service for an additional layer of protection.
Conclusion
Backing up and restoring data in Windows 11 to a USB drive is a crucial step in protecting your valuable data from loss. By following the steps outlined in this article, you can create reliable backups and restore your system or data quickly and easily in the event of a disaster. Regular backups provide peace of mind and minimize the risk of data loss, ensuring the continuity of your work and the preservation of your memories.

Closure
Thus, we hope this article has provided valuable insights into Backup and Restore in Windows 11 to USB (2025). We thank you for taking the time to read this article. See you in our next article!